


This post is for the Shelly DIY contest. I hope you enjoy it. It started as an idea to make a simple bird house for my youngest son. I wanted something more fancy this time and looked at some bird nests that you were able to monitor. Most of the ones sold were very simple and some of them looked like this.

I just find it very strange that some stores sell this in 2020. I mean 30 meters of video cables, come on. However there are some other products on the market but in general they lack the housing it self. Anyway, I decided to build my own.
You will need
- Raspberry PI
- A noir camera
- A Shelly H&T
- 150 ohm resistors (or similar)
- Cables
- IR Diods
- Basic woodworking and soldering skills
- Cables
I did a video here so if you just want to run straight into it and start building you may get an idéa here of what this is
Software and setup
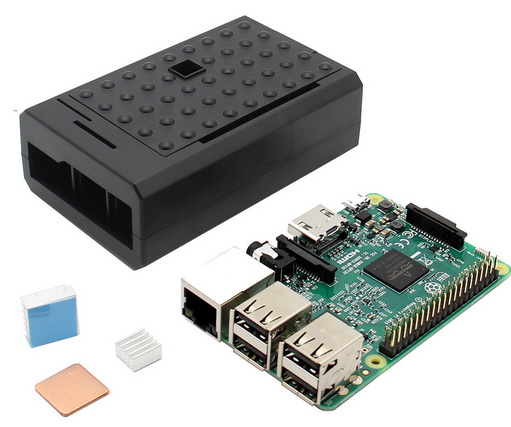
So let’s get started with the bird nest 2020 version. I will get back to the housing itself later. We will start with the tech stuff. I decided to use a Raspberry Pi 3. I had one extra just laying around. I also added an extra heatsink as the camera might generate some heat.
I also got this noir cam from Waveshare with two IR leds. As familiar it is quite dark in a bird nest so you want IR to get a good image. After mounting everything together the Shelly HT showed 65 degrees celsius close to the cameras. That would most likely result in fried chickens so I gave up this. To bad because the image was extremely good. However I still wanted to share this as some of you might think that this is a very good camera. And in some ways it is. You are able to switch focus on the camera very easy.

I took a photo with my heatcam as well.

So the camera was replaced with the normal PI noir cam. However this camera does not have any built in ir leds so I had to figure out something here.
I also wanted to be able to monitor the temperature and humidity. I do not want the RPI to generate to much heat for the birds. On the other hand I have no idéa what temperature birds want. I suppose it will be hot when the sun shines anyway. So I decided to put a Shelly H&T in there as well.
Setting this up is quite simple. Put a SD card in your computer, download Raspbian and use etcher to save the image on the card. I would recommend you to use a RPI3 or 4 as the you want the built in wifi. Also make sure that you have good wifi around your house where the birdhouse will be placed.
I connected the RPI to a screen and used the desktop to connect it to my wifi. Also make sure to enable ssh. Make sure to use your guest wifi. Young nuthatches are notorious hackers.
When the camera is connected make sure it is is connected via.
sudo raspi-config
I have used RPI Web cam. Install this like below. If you want to change stuff later just run the setup again. Maybe you want to change the port or the username and password.
git clone https://github.com/silvanmelchior/RPi_Cam_Web_Interface.git
cd RPi_Cam_Web_Interface
./install.sh
If you want fullscreen you can change in etc/raspimjpeg. Add the line ‘fullscreen true’ at the bottom.
You should now be able to see your cam if you open the ip address of your RPI in your browser. There are many settings you are able to change here. Now the software is finished.

Woodworking
Time to build the bird nest itself. For anyone who passed elementary school woodworking and managed to do a butter knife this should not be a problem. It is important that the box is divided in two parts and that you are able to mount the camera and ir sensors. You will have to adjust focus and viewpoint later on. You will also have to make room for a power cable as well as the Shelly H&T.
I did just use some stuff I had in the garage. I glued it together and also used a hinge at the top so I could open the box easy. I will get back further on how to finalize the housing. You can see the measures in the final image below.


IR LEDS
It will be dark in the box and you will need additional lights in order be able to see anything. You could start to put the cam in a shoebox just to see how it looks right now. After all it is a noir camera. So what I did was to mount 6 IR leds in the box. I drilles small holes and put small bricks under so that the diodes will stay in place.
Connect is like below. I have used the image below from Adafruit. I could not make an image this good myself. I did not find any resistance of 24 ohm so I used 120 ohm. It seems to be working fine as well.

The IR leds will NOT light in a way that human eyes are able to see. So when you have setup everything you do not really know if it works. The best way might be turn turn of all lights and use the noir camera to pint to the leds. Make sure you see that all leds. It is very important that you mount this in the correct way. Note that the crocked ir leg is the longer one and the straight one is the shorter leg of the ir led. There are more detailed instructions on the adafruit site.
I used duct tape and put all the ir leds on my table to make sure it worked. Then I could see them shining on my laptop.


The final point is that if you are building a very small bird housing it might be fine with two ir leds. And if you are building a mega large housing for eagles and owls it might just work fine with the waveshare ir led. Make sure to check the temperature anyhow.
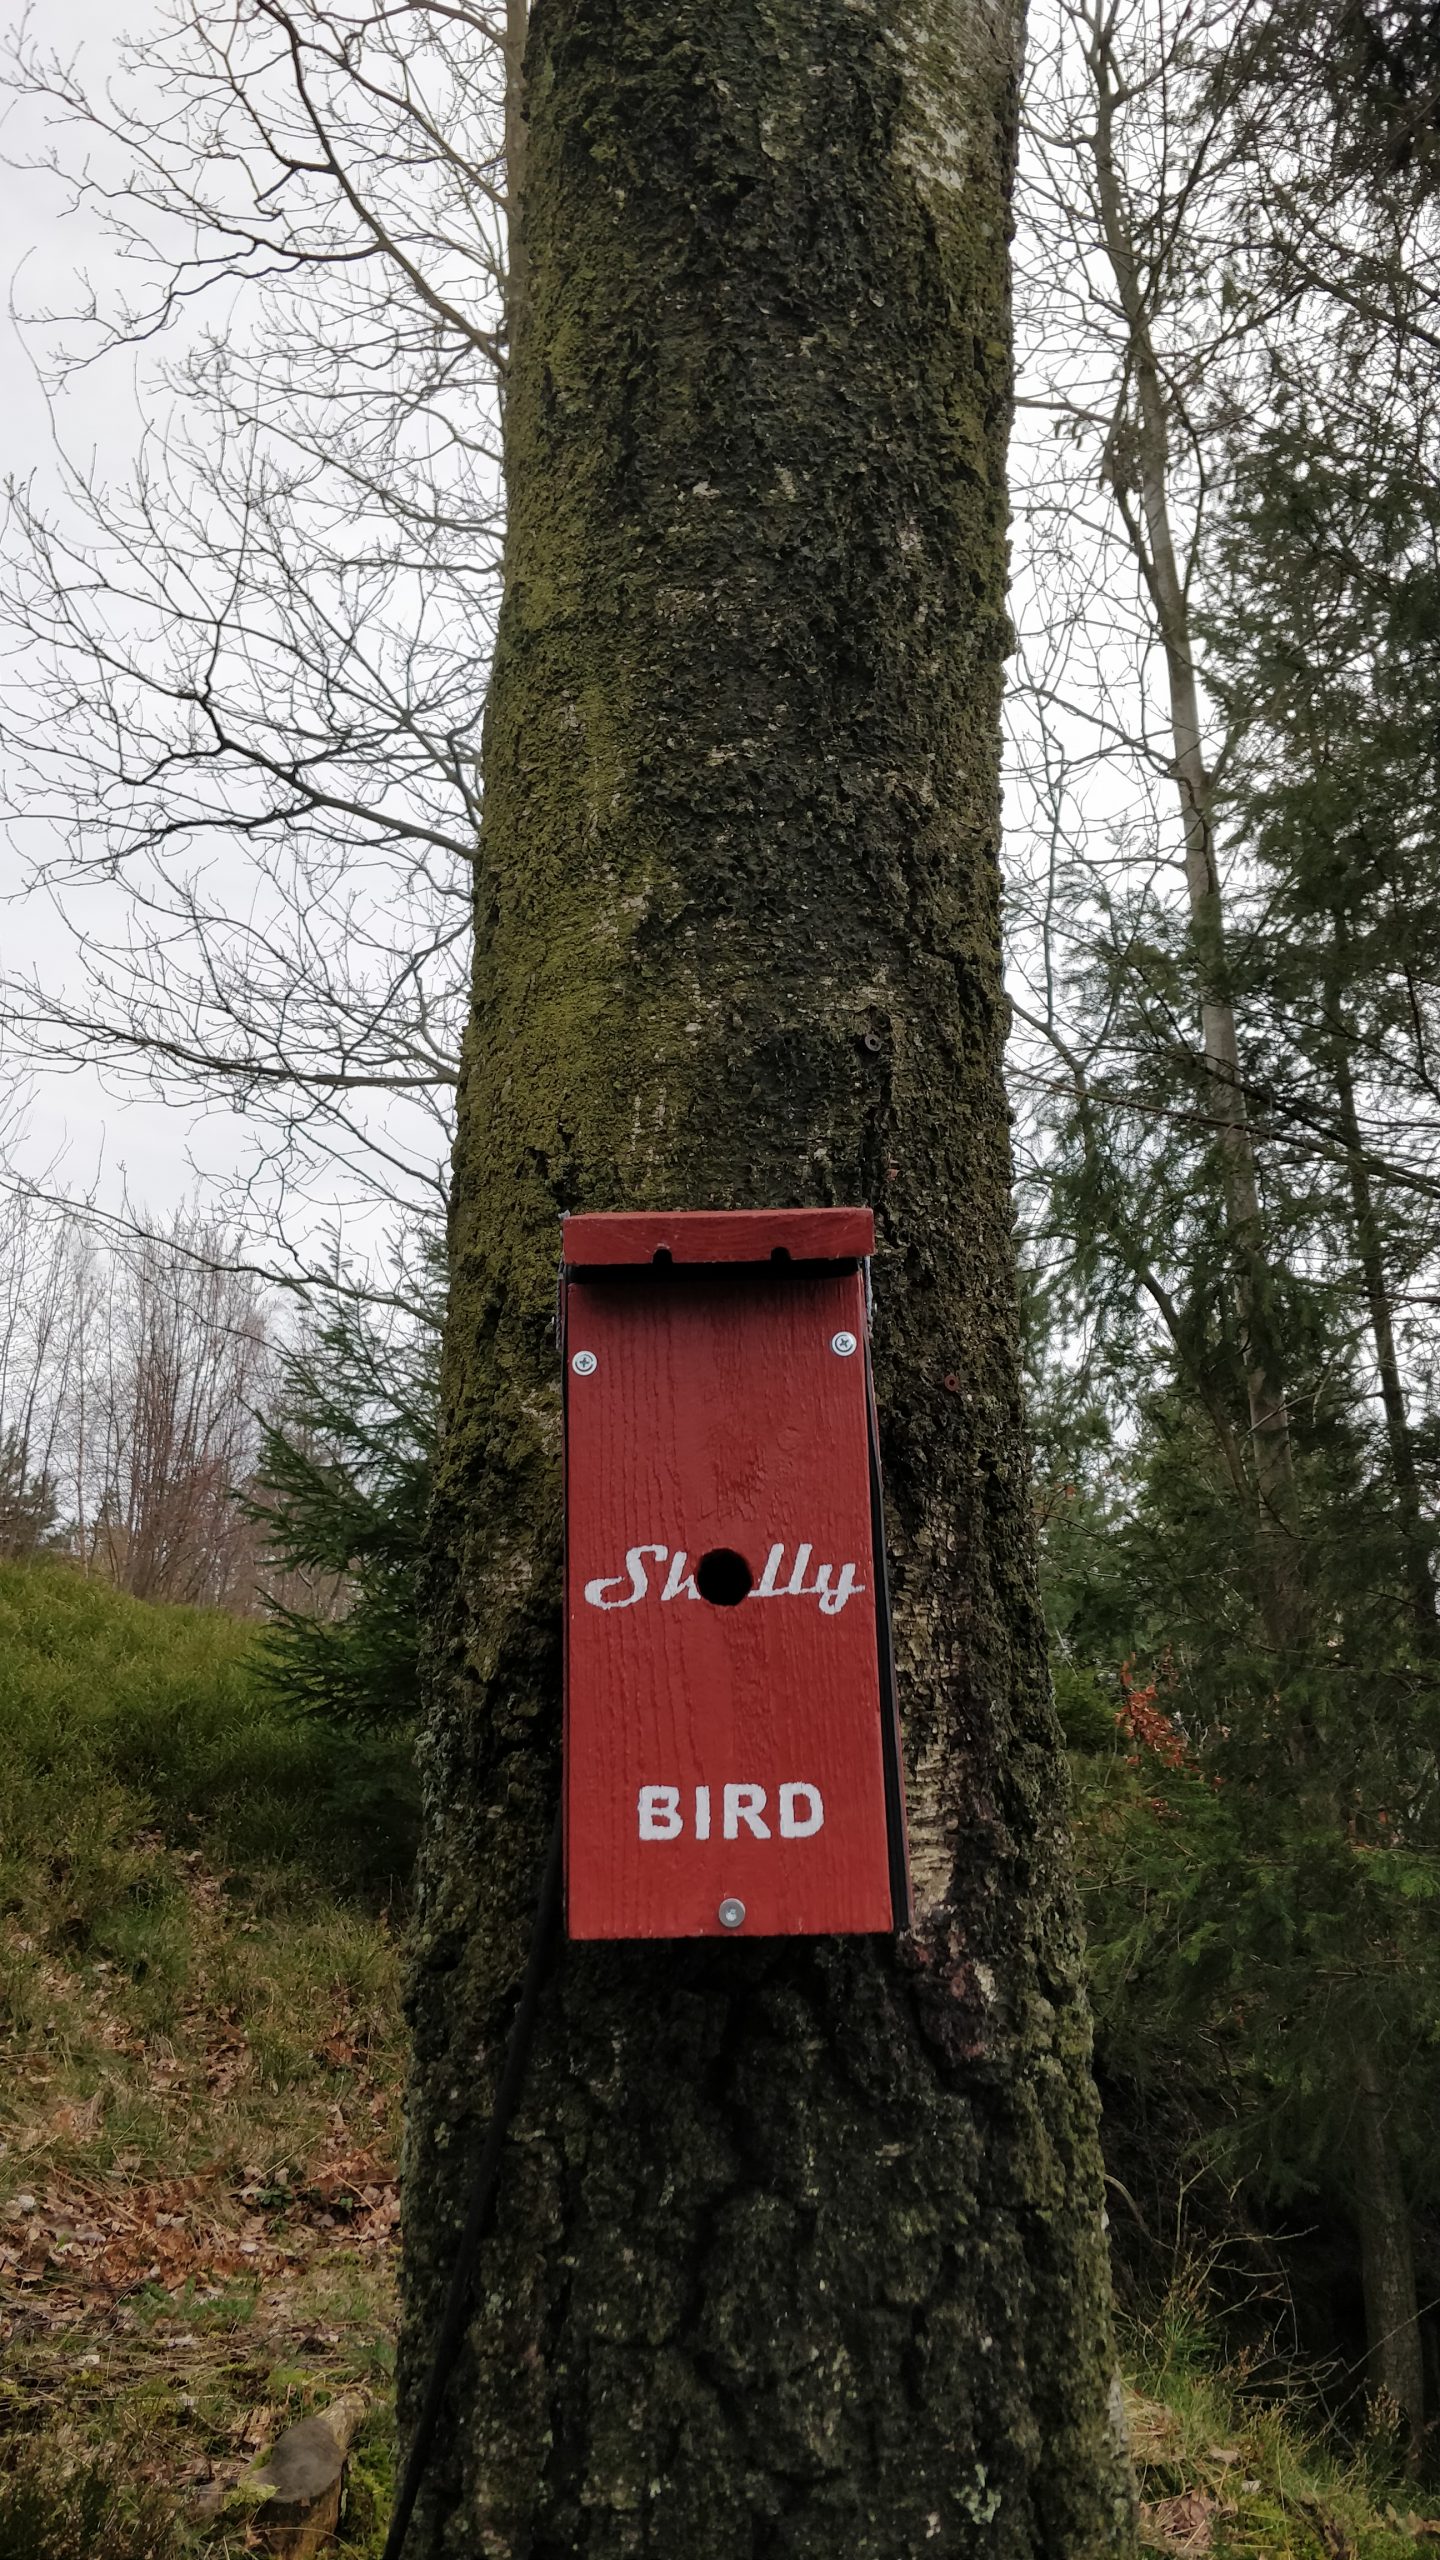
Finalizing the bird house
I added some more stuff like silicone to prevent water from coming in. I also put some rubber seals around the box as well as some other rubber at the back. I mounted the Shelly H&T as well but will move this as it cased the hole to be partially blocked.


Waiting for the birds
So we are almost done. Now we are just waiting for the birds. Here in sweden I think that the birds that may move in might be blue tit, great tit or maybe nuthatch.


After mounting it I tried to access it and it worked just fine. Make sure it has good wifi connection. In my shelly app I can see the status as well. Looking good so far.

This post would not be very fun if you were not able to see the birds. But good news. You can! At least from april 2020 until June 2020 or something. It depends if there will be any birds at all and how long they will stay.
To access the camera go to:
https:\\shellybird.planet4.duckdns.org
Login as admin and use the secret shelly. I know you can modify some settings. I just have not had the time to dig deep into this software in order to secure it enough.
Home Assistant
I could not resist to integrate this a little bit into Home Assistant as well. It has it´s own view where I can see all info. There is an excellent integration for Shelly that you can install via HACS. You can find this here.

Future improvements
There were some things I wanted to do but as the birds start building nest here right now I was quite stressed to finish the project.
- Motion detection
- Dual cams (one outside as well)
- More waterproof
- Use the RPI front plate (I just could not make it fit right now)


