


My son have an aquarium. I have used the old light quite some time now but in general the light is to cold and to bright. I had some led strips leftovers that were used in my porch. So I decided to make some use of them. I am using a rgbww led strip. It has extra leds for warm white. When using a normal rgb strip the white colors will be more cold. The benefits you get by replacing the fluorescent lamp is:
- Millions of colors
- Night light
- Schedule on/off/colors via Node Red (in my case)
- Dim and start the lights slow in the morning and opposite in the night.
What you will need:
- Plexiglass
- Led strips
- Silicone
- Cables and simple soldering skills
- Shelly RGBW2
- A 12 power adapter (about 1000 mA depending of the length of the led strip)
- A tool like a dremmel
I started but doing a simple test. I cut the led strips in the same length as the aquarium (just a little bit shorter). Soldered them together and connected the Shelly. Make sure the device works within the Shelly app and that both colors and warm white works.


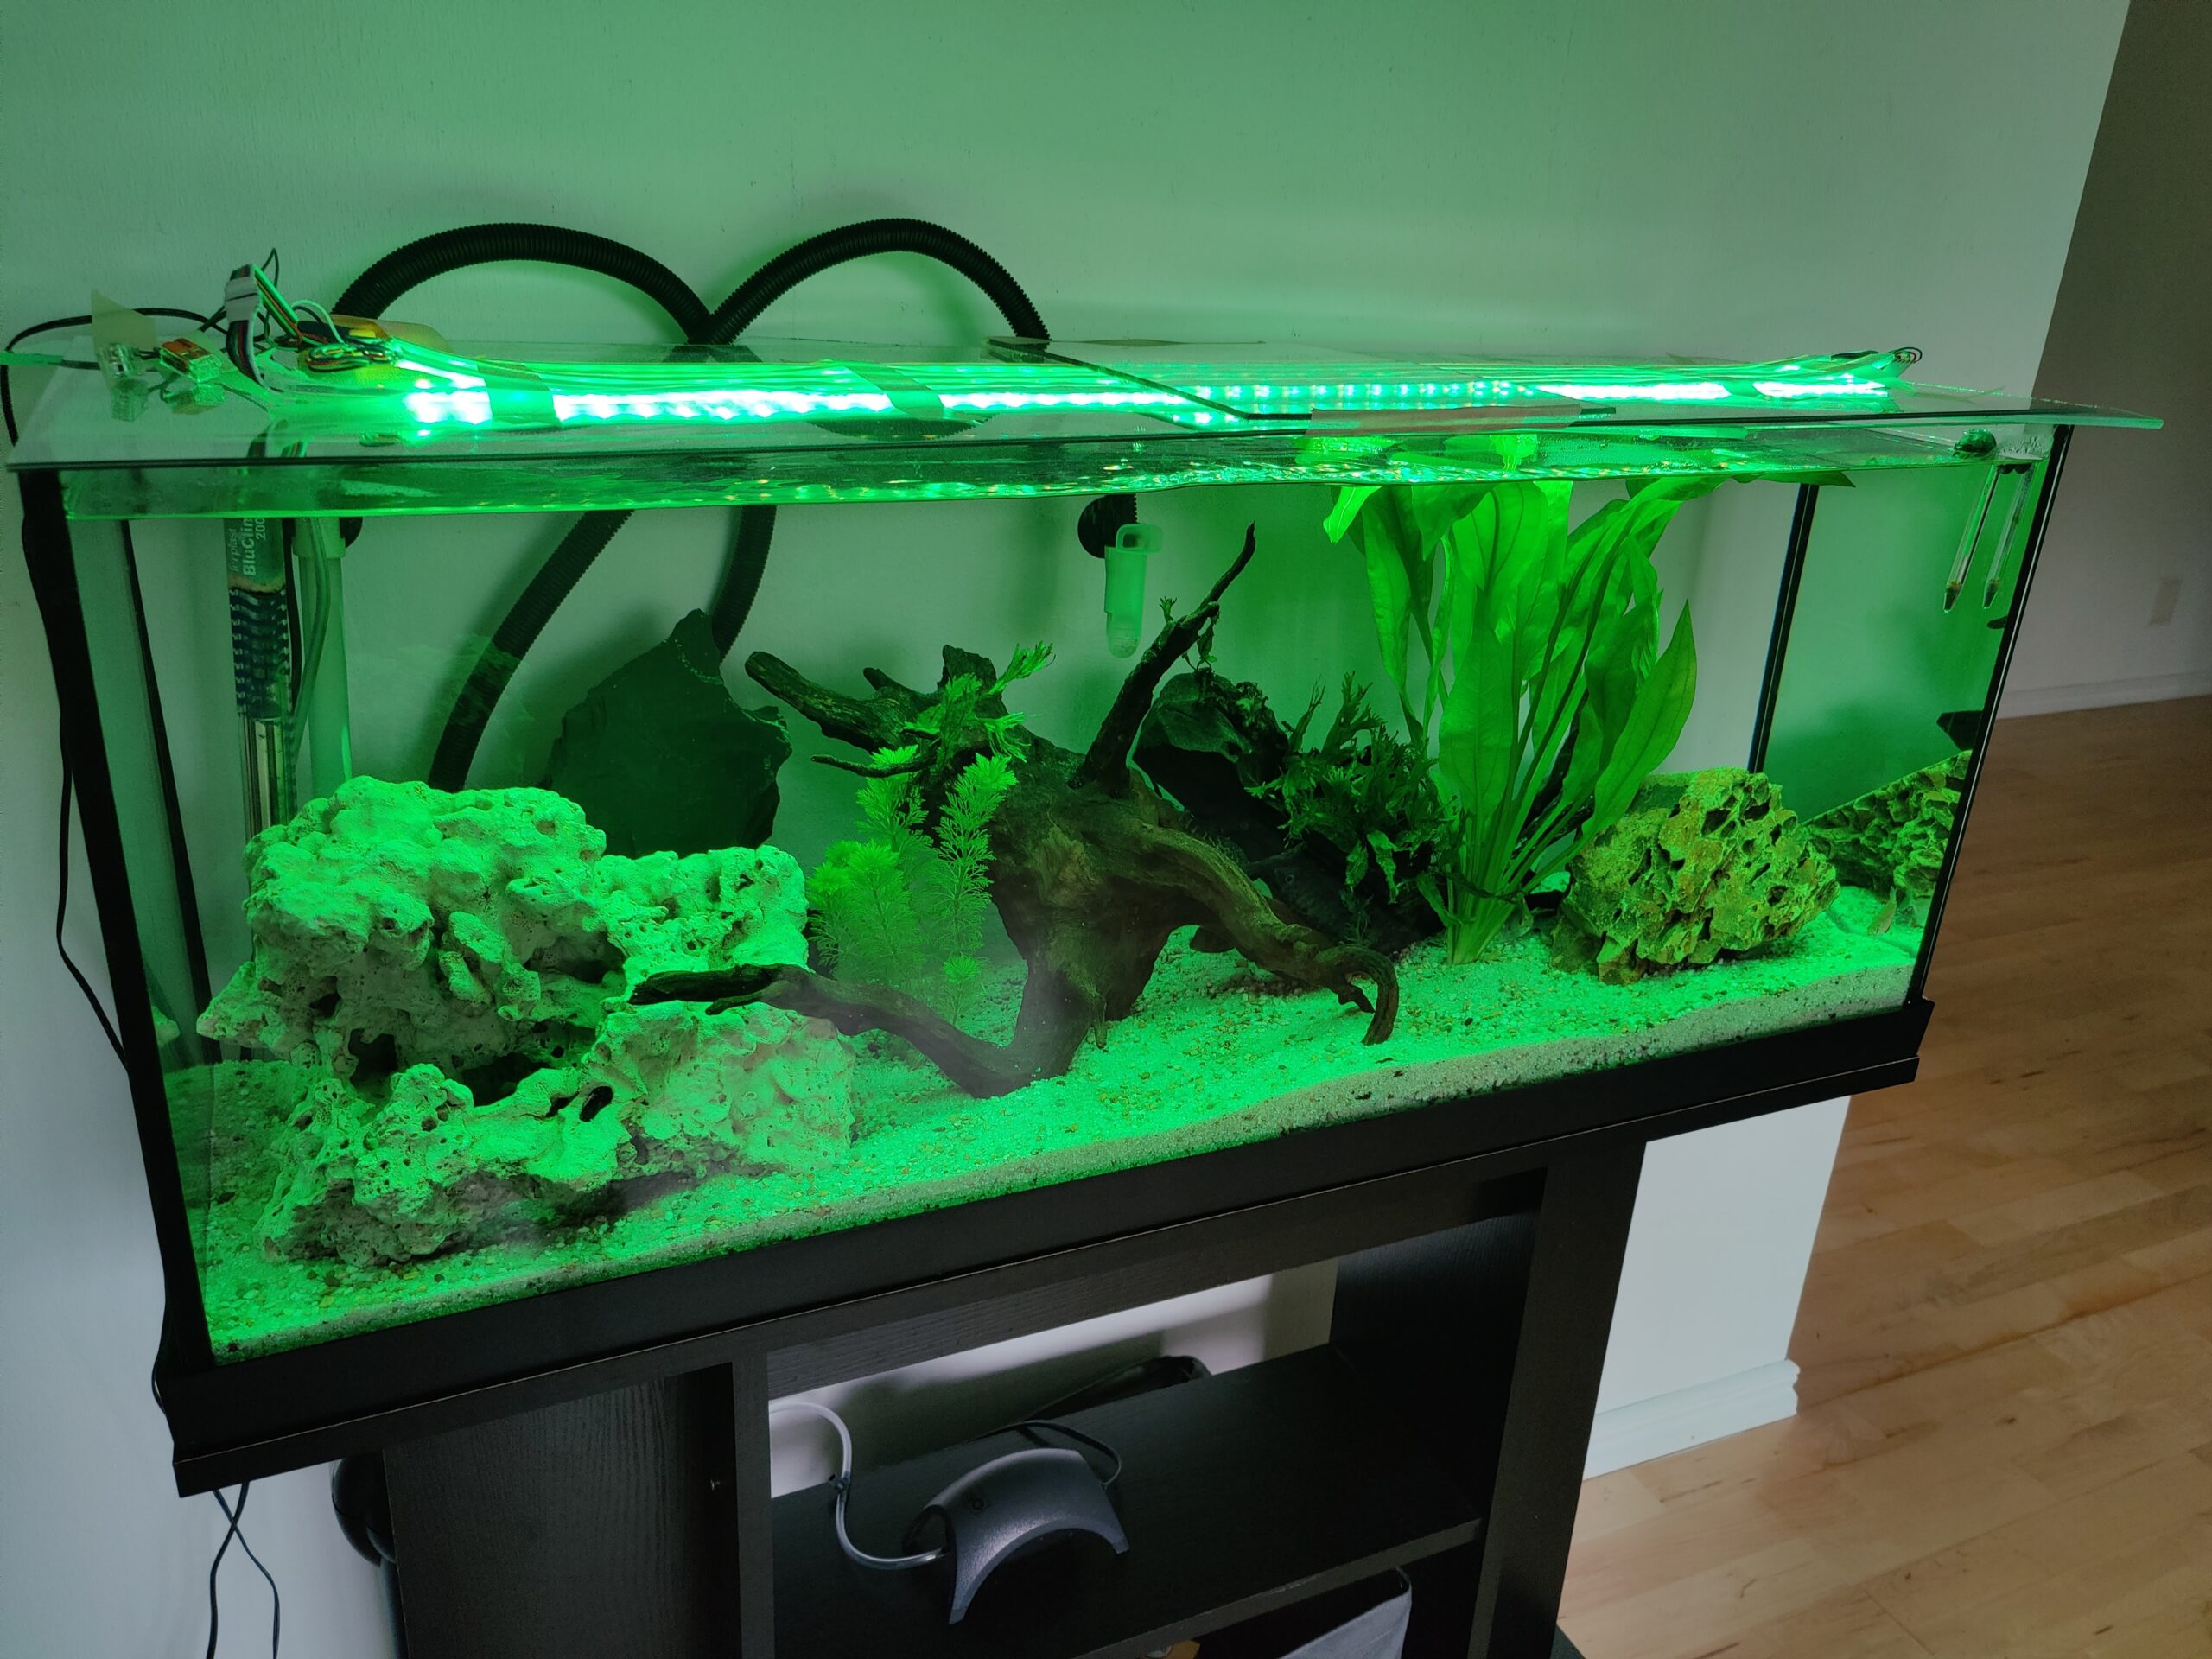
Final result.


I have used Node Red to turn it on and off. I want to turn it on in the morning and off in the evening. I want it to slowly dim. This is usually done with the transition data. This will increase the brightness in a certain amount of time. In my case I have both the brightness for my rgb but also a data value called white_value. I tried a lot but were not able to use transition to dim both the brightness and the white value. I suppose this flow is far from perfect but it works. I takes 6 minutes to go from dark to default light in the morning. I am using Home Assistant to controll the Shelly as you can see. My data for the Shelly looks like this:
{“rgb_color”:[189,126,255],”brightness”:20,”white_value”:26}
This value changes for each new setting.


